When to use this workaround?
This should only be used when you cannot activate Prime Mover plugin because:
- Your site
wp-config.phpis not writable and not editable by your account. - Your hosting does not offer feature for you to add all Prime Mover custom constants.
- Your hosting support does not able to add the required constants to the restricted
wp-config.phpfile. - Your hosting supports “mu-plugins” (Must use plugins)
Step 1 – Get the required constants to be added
First, clear your browser cache and login again to your site. Make sure Prime Mover plugin is already installed. Then please do the following:
- Activate the Prime Mover plugin.
- When your
wp-config.phpis not writable – it will output an error message telling you to add constants to config file. Prime Mover plugin will be auto-deactivated. The error message looks like this.
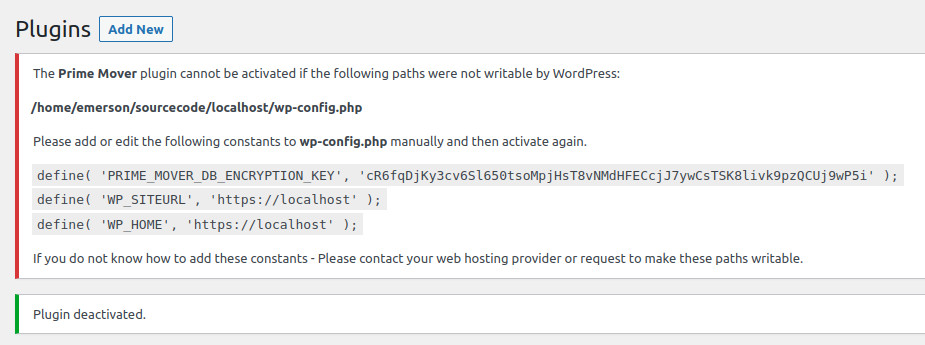
Make sure to copy the constants as it appears in the above message. Take note that these constants might be different if you have single-site or multisite. Please read this documentation to get to know more about the Prime Mover constants.
Step 2 – Create a custom Prime Mover constants PHP file
Second, please do the following:
- Open your text editor.
- Copy and paste the following code:
<?php
define( 'PRIME_MOVER_DB_ENCRYPTION_KEY', 'YOUR_ACTUAL_ENCRYPTION_KEY' );
define( 'WP_SITEURL', 'https://YOURSITEURL' );
define( 'WP_HOME', 'https://YOURHOMEURL' );- Make sure to replace the following values :
YOUR_ACTUAL_ENCRYPTION_KEY,https://YOURSITEURL,https://YOURHOMEURLwith the correct values from the required constants you get from Step1. It should like this after correcting the values:
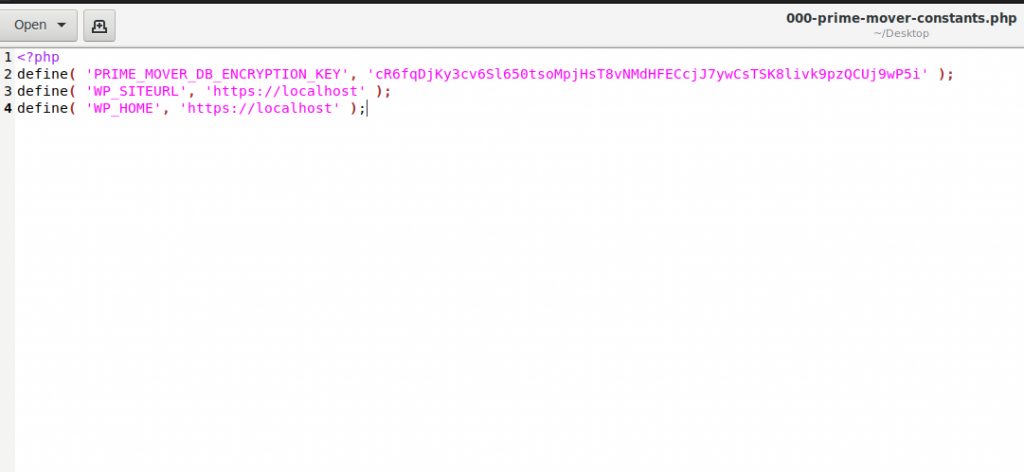
- Finally save this PHP file as: 000-prime-mover-constants.php
Make sure to use the filename: 000-prime-mover-constants.php – so that these custom plugin constants will be loaded before other must use plugin scripts and plugins. That is why it includes “000-” appended at the start of it’s filename.
Step 3 – Upload 000-prime-mover-constants.php to /wp-content/mu-plugins/
- Make sure /wp-content/mu-plugins/ exists. If this does not exist – please manually create “mu-plugins” directory in your wp-content directory so that the resulting path will be /wp-content/mu-plugins/
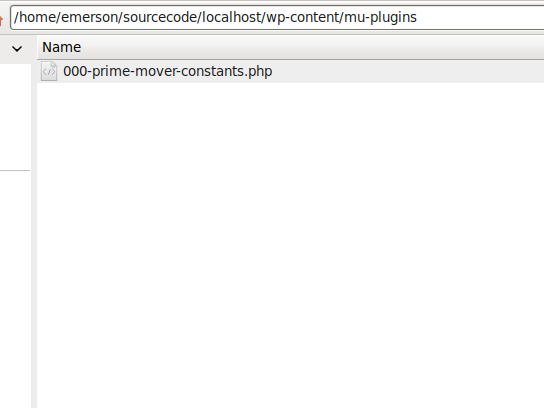
- Using your SFTP/cPanel file manager – upload 000-prime-mover-constants.php to “mu-plugins” directory.
This is how it looks like after being uploaded to the “mu-plugins” directory.
Step 4 – Clear browser cache, login and re-activate Prime Mover plugin
Once the constants are in-placed in your mu-plugins directory:
- Clear your browser cache.
- Login back to your WordPress backend.
- Re-activate Prime Mover plugin.
This time – the plugin should be correctly activated and you should be able to see the Freemius Opt-in dialog:
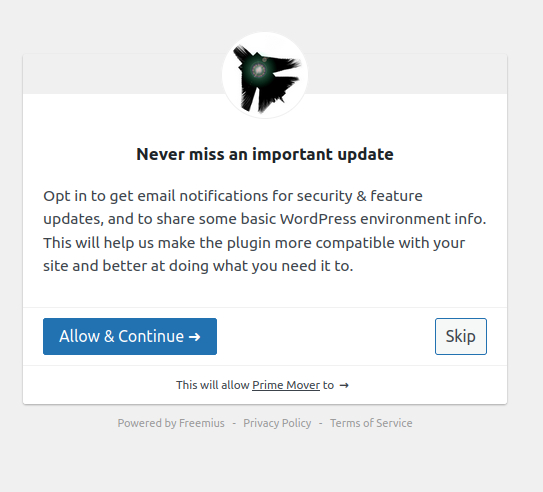
That’s it! Enjoy Prime Mover!
Still cannot activate Prime Mover?
Please get in touch with our technical support and provide us the following:
- WordPress site URL
- WordPress username/password (if its multisite make sure to have a network admin access)
We will check your site and investigate why the plugin cannot be activated.