Background
Most shared hosts support cron jobs functionality within their control panel. These are real cron jobs triggered within your hosts’ server/operating system level (e.g., Linux) that differ from native WordPress cron jobs. These cron jobs ensure it will fire on your specified schedule.
This is unlike WordPress cron, which waits for a page load event (from a website visitor). This type of cron execution ensures that your automatic backup will run according to your preferred schedule.
Configuring this is super easy as long as your hosts support this feature.
Disable WP Cron
Since you are now using the hosting cron to trigger your WordPress site cron jobs. You don’t anymore need the native WordPress WP-Cron – so you can safely disable it by adding this constant to your wp-config.php (if it’s not disabled yet):
define( 'DISABLE_WP_CRON', true );
Enable cron job in your hosting
Each hosting company has its way of showing how their customers can create cron jobs (inside their hosting panel). For example, let’s show how to enable cron jobs inside a Hostinger shared hosting account. Let’s assume you want to call your WordPress cron script every 5 minutes to ensure that it will keep all your cron jobs as up-to-date as possible (including Prime Mover PRO automatic backup jobs).
If you are on different hosts – procedures should be similar, but to be sure, please check your hosting documentation.
- Login to your Hostinger shared account hosting panel.
- Go to the Website control panel (if you have several websites in your account).
- Navigate to Advanced -> Cron Jobs
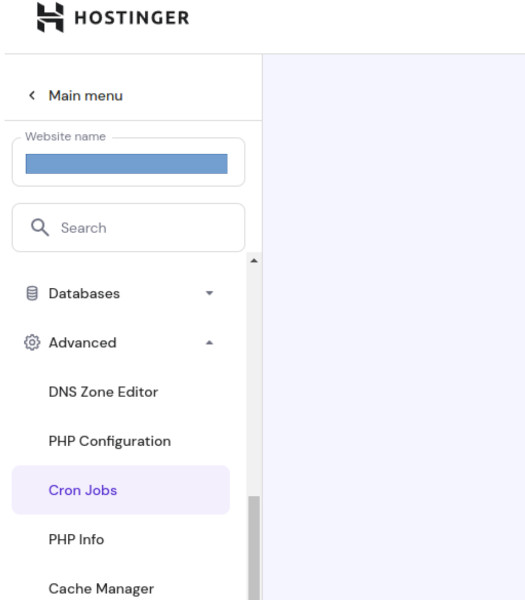
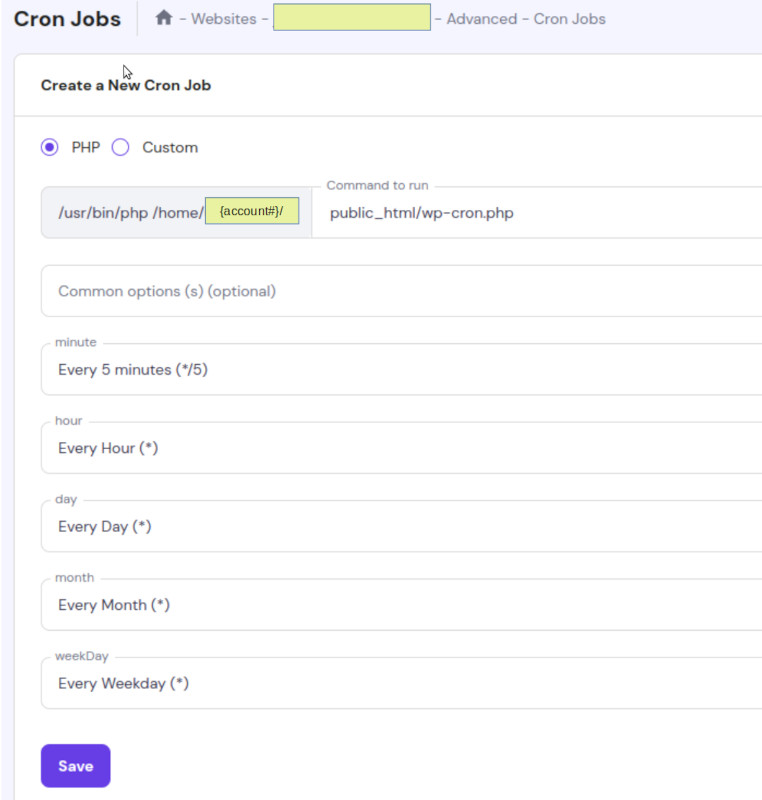
- You should be able to see the “Create a New Cron Job” form.
- Make sure “PHP” is selected.
- Under “Command to run,” enter: public_html/wp-cron.php
So the entire command to run looks like this:
/usr/bin/php /home/uXXXXXXXXX/public_html/wp-cron.phpHostinger asks you to enter the path to your WordPress cron PHP file.
- Let’s schedule a call to your cron script every 5 minutes. To configure this, select “Every 5 minutes (*/5)” under the “minute” field.
- Under the “hour” field, select “Every Hour (*).”
- Under the “day” field, select “Every Day (*).”
- Under the “month” field, select “Every Month (*).”
- Under the “weekDay” field, select “Every Weekday (*).”
After filling up all the values in the above settings, this looks like before you click “Save.” Note that “{account#}” is unique for each hosting account, so it’s not shown in the screenshot below.
- Finally, hit the Save button. This should officially enable the cron job. You should see a notice that says, “Cron job created successfully.“
- Under “List of cron jobs”. You should see your added cron job. This how it looks like:

You have just created a system-based cron (using your hosting cron) that will call your WordPress script every 5 minutes. This will ensure you keep your website cron jobs up to date (including auto-backups).
Enable cron via the command line.
If you don’t have a hosting panel for adding cron jobs but only a command-line solution, this is also possible. This assumes you are on a Linux web hosting (Debian or Ubuntu, which is common) and offers root access to the command line, where you can add your cron jobs. It also assumes you know how to use command-line tools, e.g., VIM editor.
To do this:
- Log in to your web server via the command line.
- Edit crontab by issuing this command:
sudo crontab -e
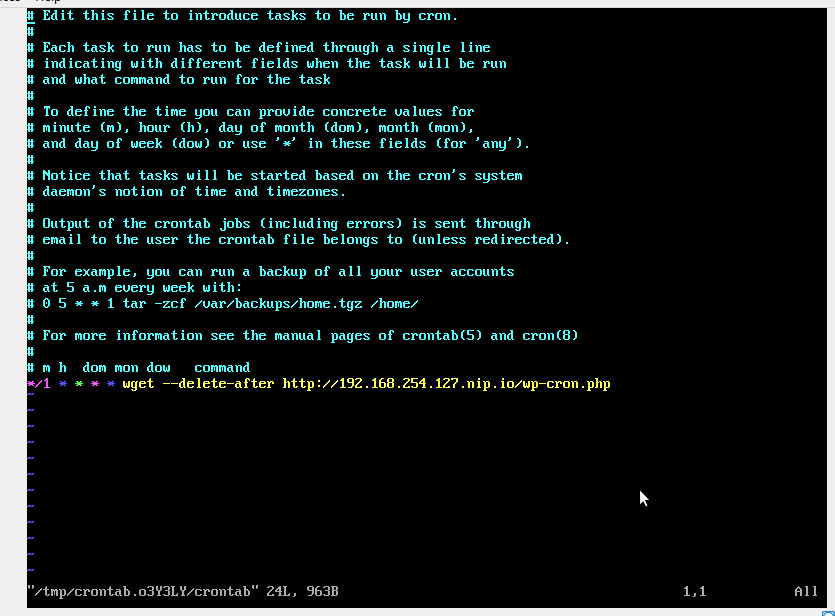
- Once you are in a cron tab editor, you can directly enter your cron jobs, for example, to call the WordPress cron script every minute:
*/1 * * * * wget --delete-after http://yoursite.tld/wp-cron.phpMake sure to replace yoursite.tld with your domain (e.g. single-site) or your main site domain (if multisite). For example, we’ve done this with a WordPress VM Bitnami instance (which only comes with command line tools to manage cron jobs). This is what it looks like after adding the above cron job command:
- Exit the cron tab editor and save.
- If you have root access – you can restart your cron jobs by issuing this command:
sudo systemctl restart cron
That’s it! For more details – you can read the official WordPress cron guidelines on setting up cron jobs using the system scheduler or command line:
Last updated: January 11, 2025