Scope: Prime Mover Pro version
Introduction
Prime Mover PRO version 1.2.5 and later now supports Google Drive. It is now possible to save or restore a package from your Google Drive account. This is a PRO feature, so you need to purchase a PRO license to use it. If you already have a license, please update to version 1.2.5 or later to enable the use of this feature.
Google Drive comes with 15 GB of free storage, which is significantly larger than that of competitors like Dropbox or OneDrive. This should already be enough for most website backup, restoration, and migration needs. You can further increase this limit by purchasing more disk space from Google Drive.
This documentation guides you through integrating the Google Drive API with your Prime Mover PRO installation. The integration process is straightforward. All you need is a Google account!
Step 1: Enable Google Drive API
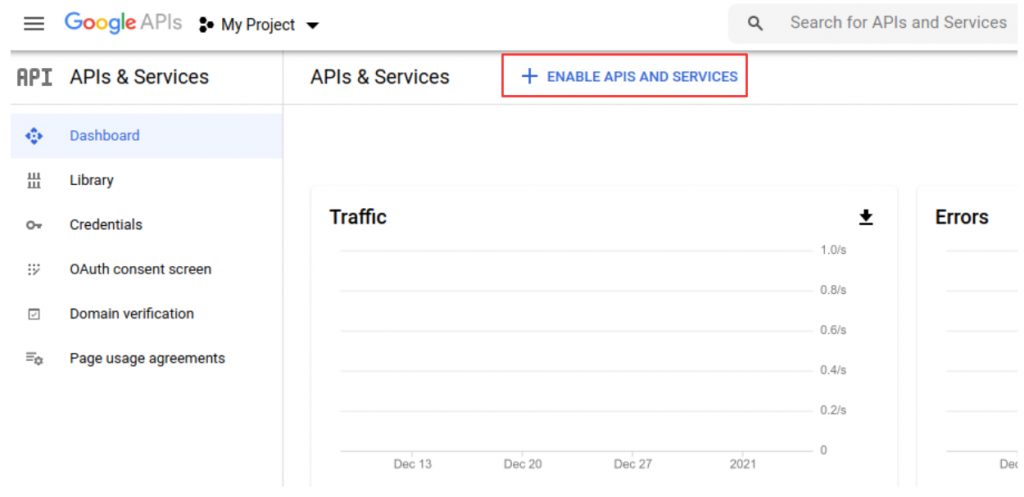
First, ensure that you have enabled the Google Drive API for your account.
- Log in to the Google API Console using your Google account.
- Click ENABLE APIS AND SERVICES, see screenshot below:
- Click Google Drive API to enable it.
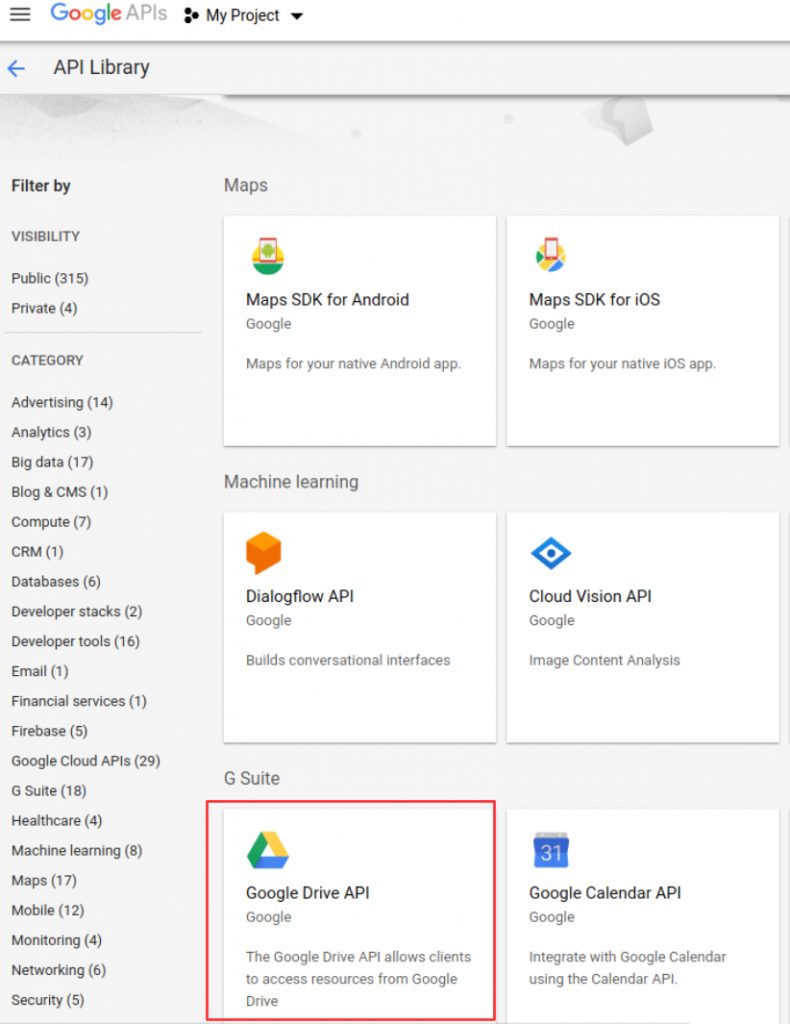
- Then, click the Enable button to enable it.

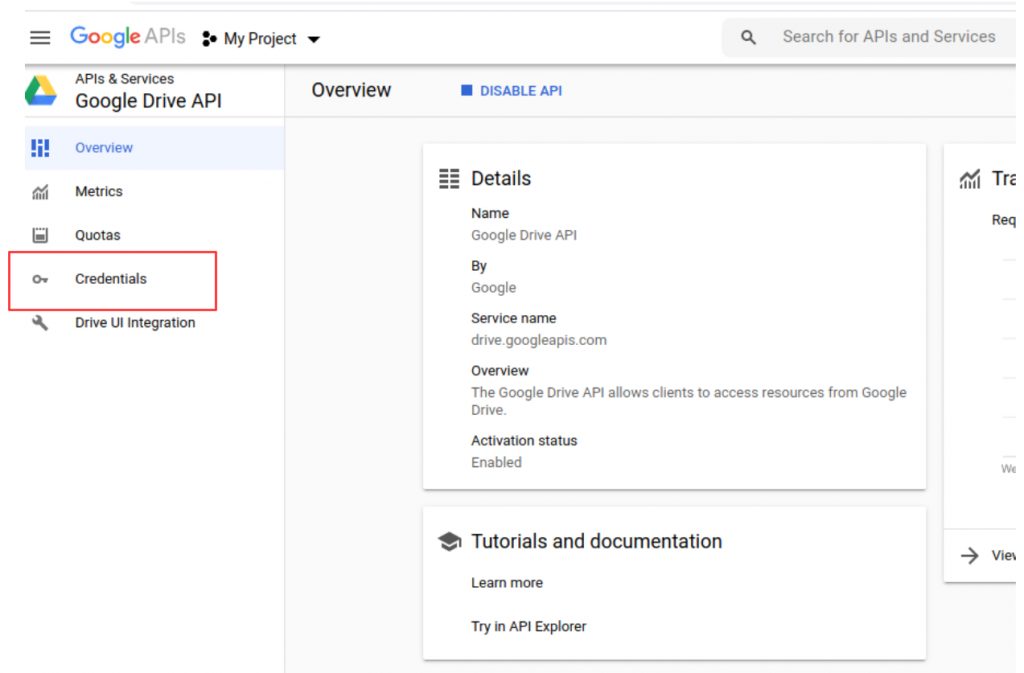
Step 2: Create OAuth2 credentials
- Now that you have enabled the Google Drive API, you need to create OAuth 2.0 credentials. Click the Credentials link.
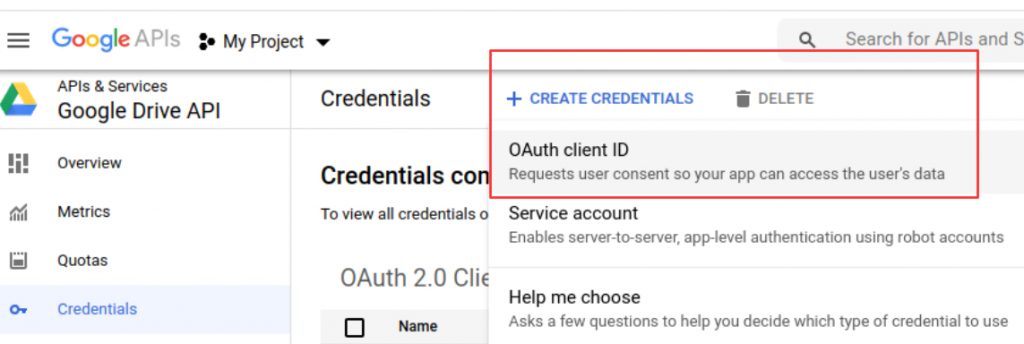
- Then, click Create Credentials> OAuth Client ID.
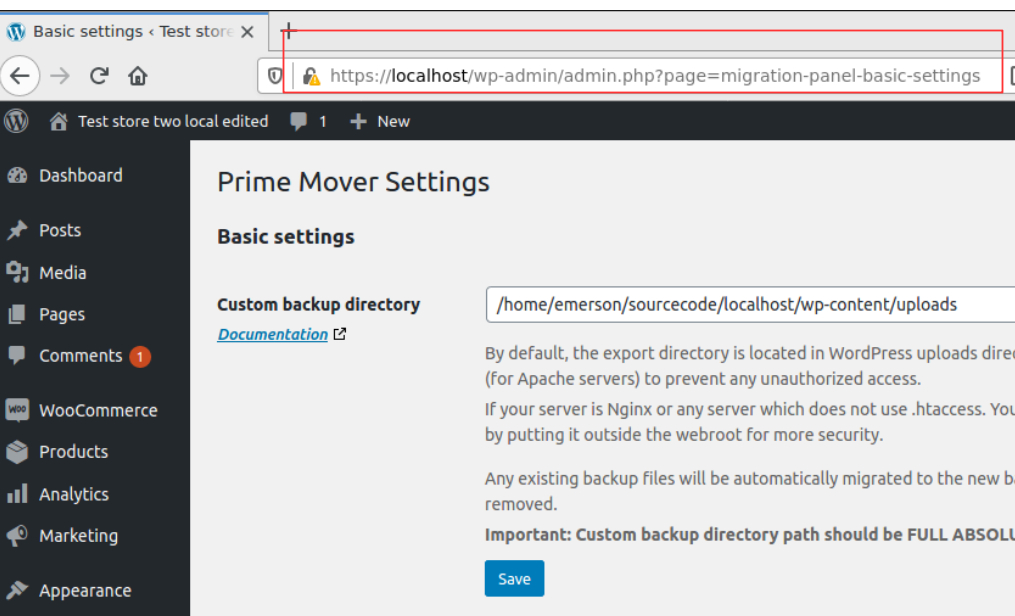
- You need to obtain the URL of your Prime Mover Settings page. You will need this in the Google Drive OAuth2 setup. Log in as an administrator or network administrator and navigate to Prime Mover -> Settings. Get the URL of this settings page from the browser address bar:
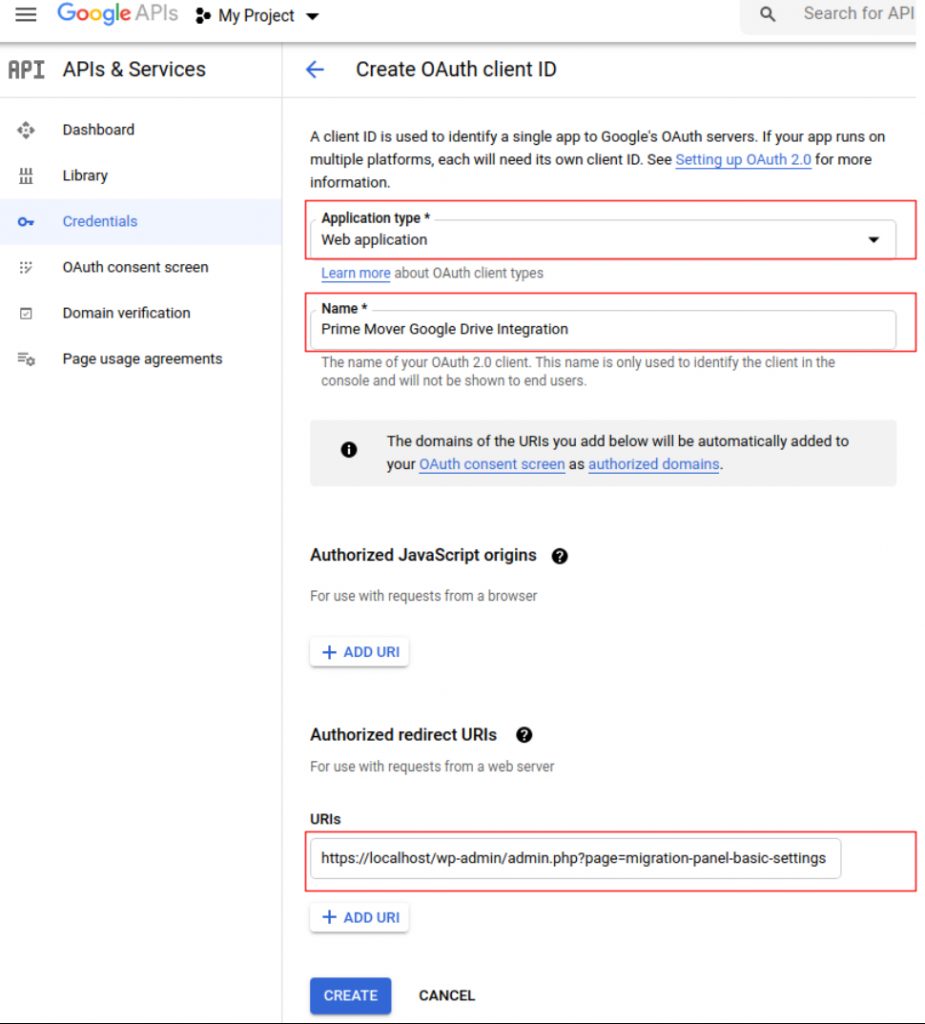
- In the “Create OAuth client ID” page, enter the following details
Application Type: Web Application
Name(actually, you can name anything): Prime Mover Google Drive Integration
Authorized redirect URIs: (Must be your Prime Mover settings page URL). This will vary from site to site. For example, the screenshot below is from a local host.
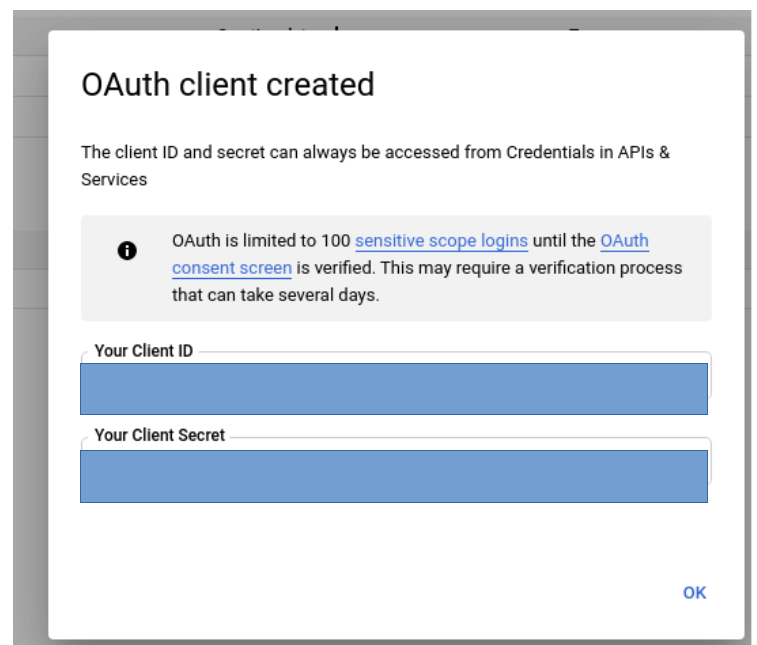
- Finally, click Create. You should be able to see the OAuth client created dialog. Click OK to close.
Step 3: Save Google Drive OAuth credentials to Prime Mover PRO settings
Now that you have successfully created OAuth credentials, it’s time to save them to your Prime Mover PRO settings. Prime Mover will use these credentials every time you like to connect to the Google Drive API.
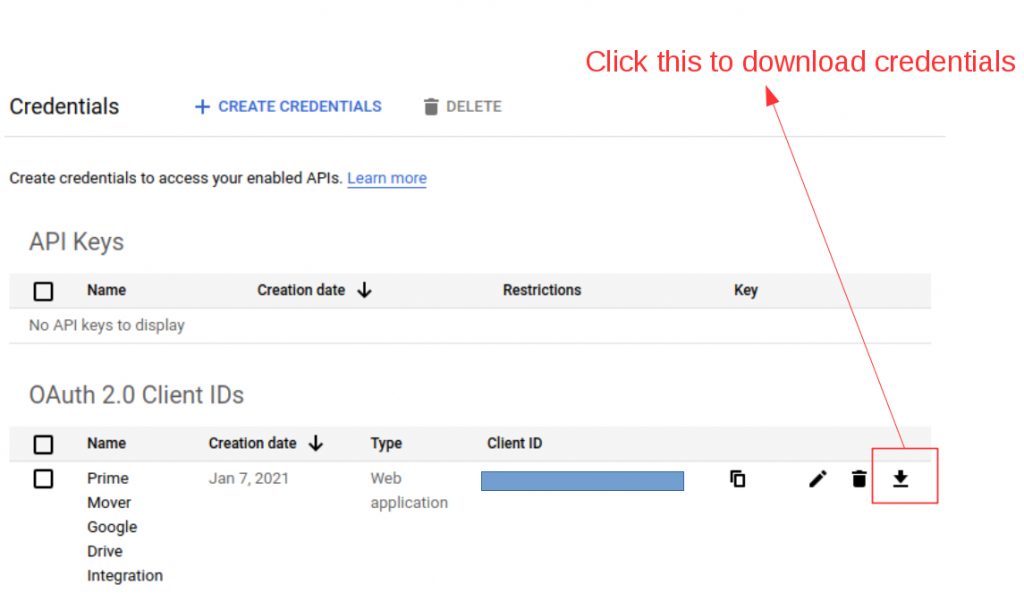
- Download the credentials that you have just created. This file is in JSON format. See the screenshot below on how to download it. Clicking on it will download it to your Desktop.
- After downloading, open the file. Select all of the contents and copy.
- Log in to your WordPress single-site or multisite (in the Network Admin). Then, paste the contents into Prime Mover> Settings> Google Drive OAuth 2.0 text area. It should look like this. (actual client values removed for privacy reasons)
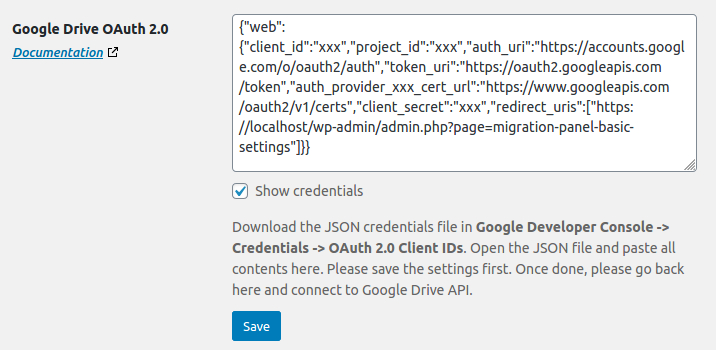
- Click the Save button to save the settings. Please note that this setting is saved encrypted in the WordPress database.
Step 4: Connect to Google Drive API from the Prime Mover PRO settings page
Now that you have saved the settings, it’s time to connect to the Google Drive API. Please note that you cannot save or restore a package from Google Drive if you are not connected. This should be the first thing to check if you want to save or restore a package from Google Drive.
- Log in to your WordPress single-site or multisite.
- Go to Prime Mover -> Settings -> Google Drive OAuth 2.0.
- You should see a button labeled “Connect to Google Drive”.
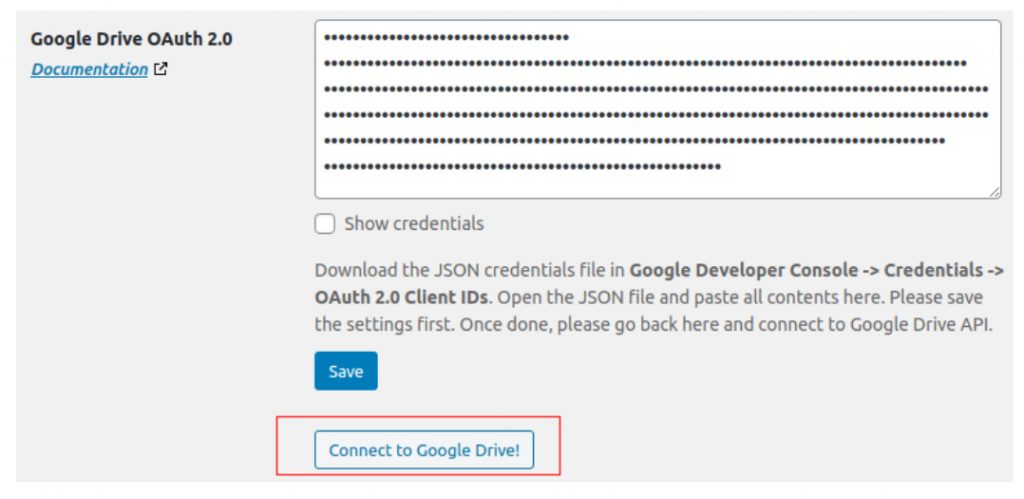
- Click the “Connect to Google Drive” button. Since you are creating the app for the first time, you may see an ‘Unverified App’ warning. Just skip and proceed. This is just a reminder for you to verify your app with Google. You can do this at a later stage; it will only take a couple of days for Google to verify your app.
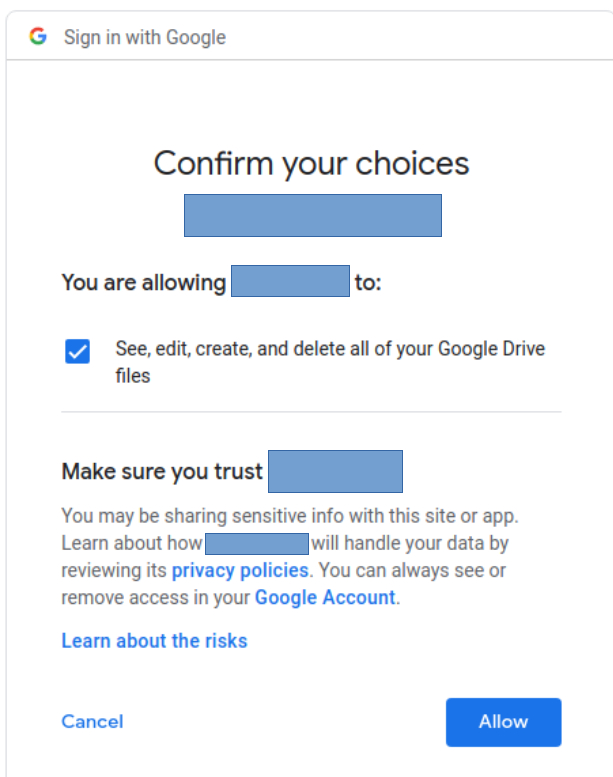
- If you log in to your Google account via the “Connect to Google Drive” button, you will be presented with a consent screen. Just click Allow.
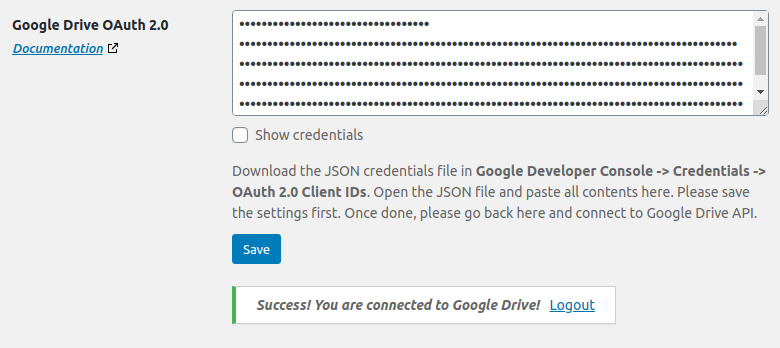
- Once logged in, you will be redirected back to the Prime Mover PRO Settings page. If you are not redirected, repeat the above connection process or refresh the settings page (this sometimes happens when your Internet connection is unstable).
- You will know that you are connected because you see the “Success! You are connected to Google Drive” message in your Prime Mover PRO settings page for Google Drive.
That’s it! You have successfully integrated the Google Drive API with the Prime Mover PRO plugin. Congratulations!
How to set the Google Drive upload and download chunk?
Before you can export or restore via Google Drive, it is best to set optimal chunk values. You can set the Google Drive upload chunk by navigating to Prime Mover PRO> Advanced> Upload/Download Parameters> Google Drive upload chunk. Likewise, the setting to set the download chunk can be found below: Prime Mover PRO > Advanced > Upload/Download Parameters > Google Drive download chunk.
“Chunking” is the best practice for uploading and downloading large files, such as backup files. This works by breaking down your package into pieces (called “chunks“), making the file size small and allowing for faster uploads and downloads.
The default upload and download chunk size is 1 MB, designed to work even with the slowest connections. Therefore, this is the safest option, but it has the downside of taking a longer time to process and making a large number of requests to the Google Drive API, which counts towards your overall request quota.
Most connection speeds nowadays are above 100 Mbps; therefore, you can adjust this to the optimal value. For the sake of clarity, connection speed refers to either upload or download speed.
Based on experience, below are some recommended values on upload/download chunk size based on your connection speed:
- If your connection speed is between 50 and 100 Mbps, you can increase the default value to around 4MB (4194304 bytes)
- If your connection speed is above 100 Mbps but below 300 Mbps, you can increase the default value to 8MB (or 8388608 bytes)
- It is safe to use 16MB (16777216 bytes) as chunk size values if your site’s connection speed is now above 300 Mbps but less than 500 Mbps.
- 32MB (33554432 bytes) chunk size is best if you have a connection speed greater than 500 Mbps.
Connection speed is measured as the speed between your source site (where backups are created or restored) and the Google Drive server on the Internet.
For example, if you are creating a backup on your laptop’s local host and uploading it to Google Drive, the connection speed is provided by your ISP from your computer to the Internet. Or if you are in a remote hosting company, the connection speed is determined by your hosting server’s connection speed to the Internet.
The chunk size value should be specified in bytes. If you are only familiar with megabytes (MB), you should convert that megabyte value to bytes.
How to export a package to Google Drive?
Once you are connected to the Google Drive API, click the Export button, and you should see a checkbox labeled “Save a copy to Google Drive” under Export location.

How to restore a package from Google Drive?
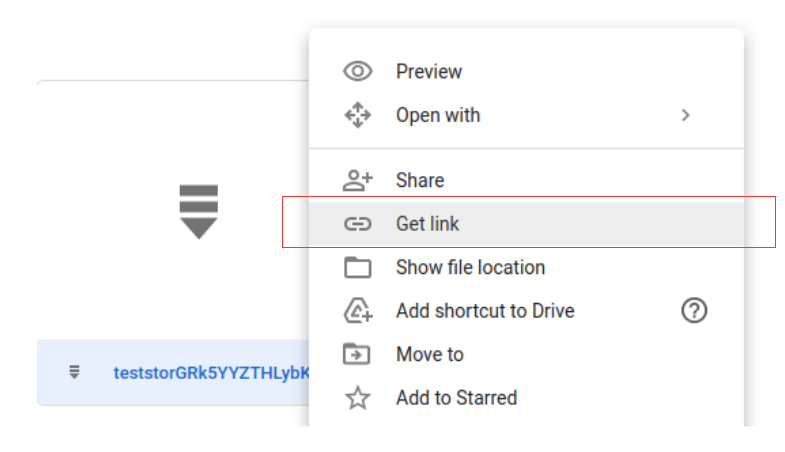
Restoring is very simple; right-click on the WPRIME package saved on Google Drive and then click “Get Link“.
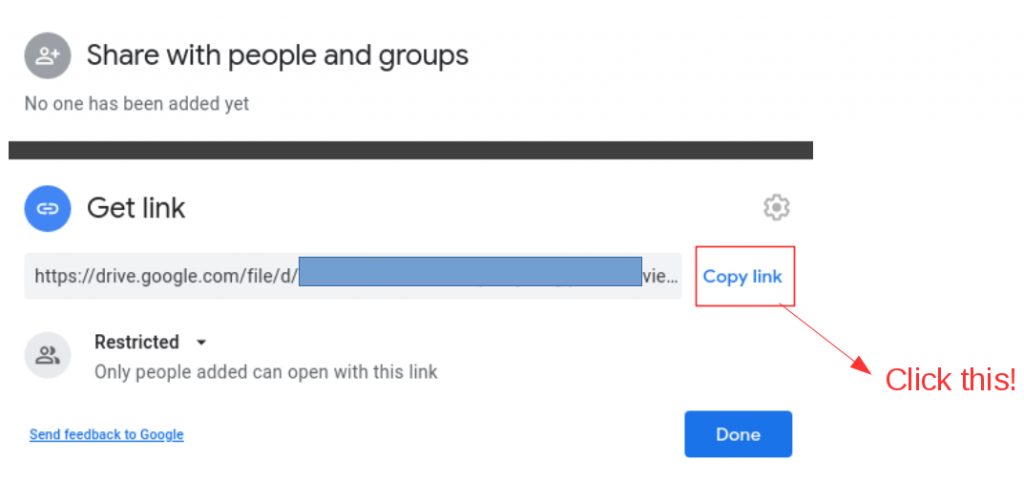
And then click Copy Link.
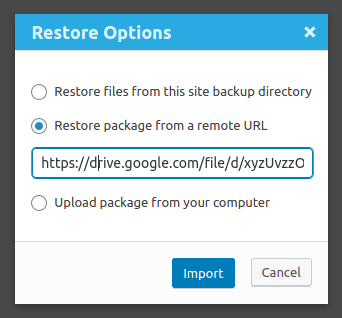
Finally, paste this URL into the Prime Mover Restore Options Dialog -> Restore package from a remote URL. This is a remote URL feature of Prime Mover.
How to add new sites using the same configured API Credentials?
- Can I use the same API credentials for multiple sites? Yes, but you must add the Prime Mover settings URI of that new site. You can do this in the Google Developer console -> Authorized Redirect URIs. See screenshot below.
- IMPORTANT: Google Drive API requires that all redirect URIs use the HTTPS protocol.
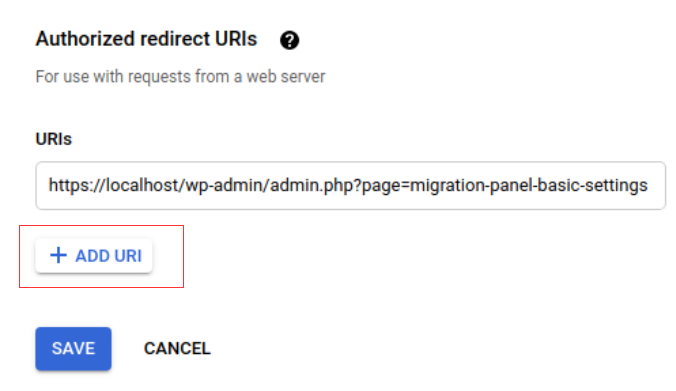
Click the “Add URI” and then add the Prime Mover settings URL of your other site. After that, download the credentials again and use them to save to your new site. You can then connect to Google Drive.
Frequently Asked Questions on Google Drive API Integration
- Is this a persistent connection? Is it possible? Note that once you are connected to the Google Drive API. There is a one-hour expiration by default. This is one hour of idle time. However, if you are exporting and restoring a massive package to Google Drive, it will not expire because it is not an idle connection.
- Does this use PHP sessions? No, this integration does not use PHP sessions. This is to maintain consistency with WordPress’s design, which is stateless.
- Can I save and restore data from the Google Drive API, even though my app is unverified? Yes, it will work, but it is highly recommended to have your app go through the verification process if you want to use it frequently or if there are a couple of users who will use it.
- Does this work on localhost? Yes, but your site hostname should ONLY be “localhost”. Anything will not work. The Google Drive API will block it.
- Does this work with a non-HTTP protocol? No, Google Drive API requires authorized redirect URIs to use the HTTPS protocol. You should use HTTPS to access this feature. This is because you cannot add non-HTTPS redirect URIs in the Google Developer Console.
- Does this work with Windows OS? Yes, we have tested this with Windows OS using PHP.
- When restoring from Google Drive, do I need to share my package publicly? No, since you are connected and authenticated to the Google Drive API, you don’t need to share your package publicly.
- I have already integrated with Google Drive, but I don’t see a checkbox to save the package to Google Drive. Make sure you are connected to Google Drive. If you are not connected, you will be unable to export or restore files from Google Drive.
Prime Mover 1.4.8+ update – prevent one-hour token expiration using refresh token
In older Prime Mover versions, an access token’s life is only one hour. If it exceeds one hour, it expires, and you need to reconnect the app to GDrive manually. If the export/restore process is ongoing and the access token expires, the process is disrupted, and you need to repeat it.
To prevent this usability issue, the solution is to use refresh tokens. This will ensure that when the old token expires. Google will auto-renew this token using the refresh tokens. To get the most out of this refresh token update (if you have an existing GDrive integration with Prime Mover):
- Log in to your WordPress site.
- Go to
Prime Mover -> Settings. - Please scroll down to GDrive settings and ensure it is not currently connected to GDrive.
- Log in to your Google account.
- Go to
Manage your Google Accountthe link. - Click “Security“.
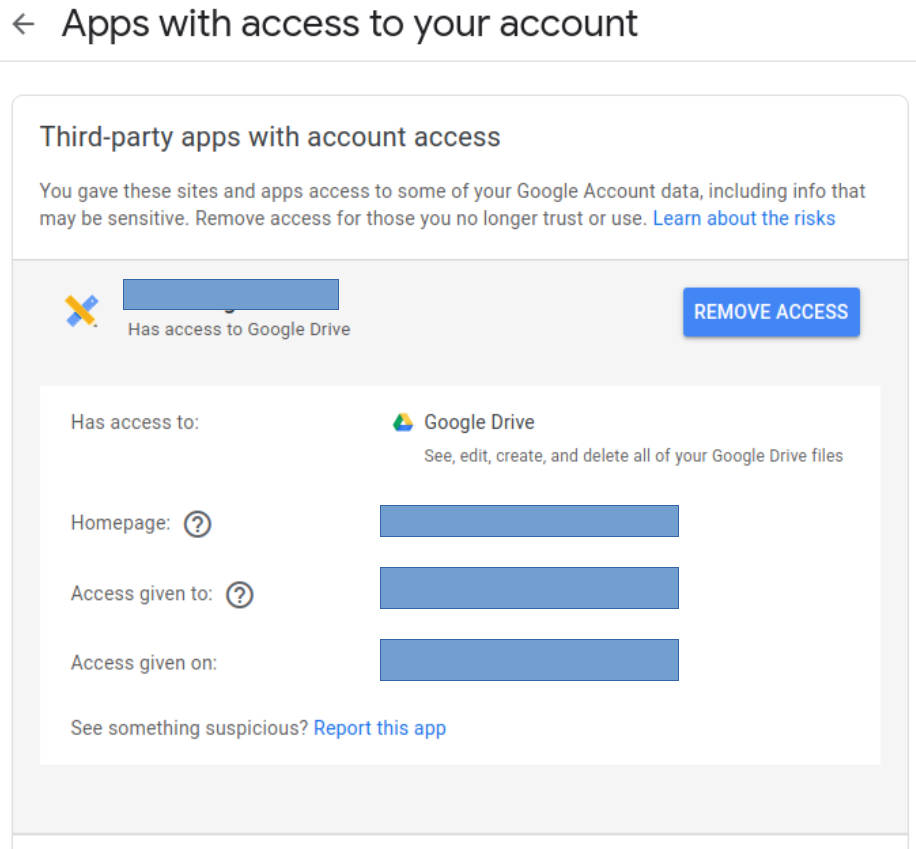
- Find the section “Manage third-party access“.
- “Remove Access” to your current app.
- Now in Prime Mover -> Settings -> Google Drive OAuth 2.0. Reconnect to GDrive.
- Complete the authentication process, including granting access.
- Once fully connected, this session should now include refresh tokens, and you can use GDrive with Prime Mover for more than an hour.
Last updated: April 19, 2025